Time needed
1 h 30 min
What you need
- Exterior weatherproof cat door with mounting template
- 100% exterior-grade silicone caulk
- Painter's tape
- Medium-grit sandpaper (120-grit)
- Tape measure
- Sharp pencil
- Spirit level
- Drill with 3/8-inch or 1/2-inch drill bits
- Jigsaw with fine-tooth wood or metal blades
- Screwdriver
- Safety glasses and ear protection
Tools
- Tape measure and pencil
- Spirit level
- Cordless drill with 3/8-inch or 1/2-inch drill bit
- Jigsaw with wood or metal-cutting blade
- Caulking gun
- Screwdriver
- Stud finder and voltage detector (for wall installations)
- Safety glasses and ear protection
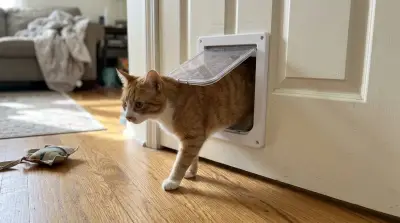
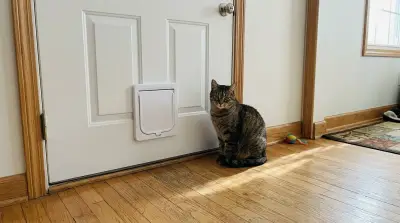
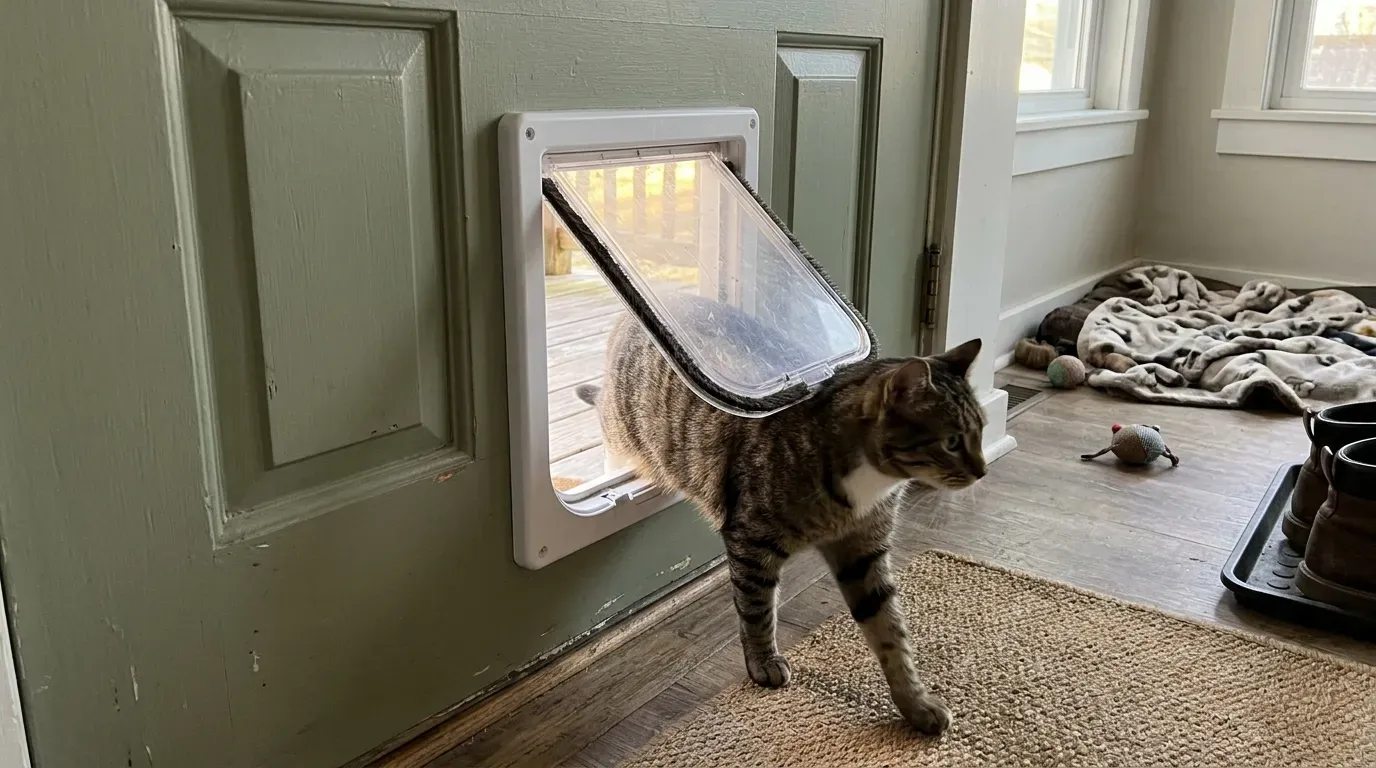
Choosing and installing an exterior cat door lets your cat enjoy fresh air or a secure catio while keeping cold drafts, pests, and neighborhood strays outside. Unlike lightweight interior flaps, an outdoor unit must stand up to rain, wind, and temperature swings without compromising your home's insulation or security.
Before cutting into an outside wall or entry door, you need the right weather-sealed model, accurate measurements for your cat's build, and a safe installation plan for your specific surface. Whether you are working with solid wood, fiberglass, brick, or sliding glass, these clear steps show you how to mount an exterior flap securely on your first try.
- 1
Select a Weatherproof and Secure Cat Door
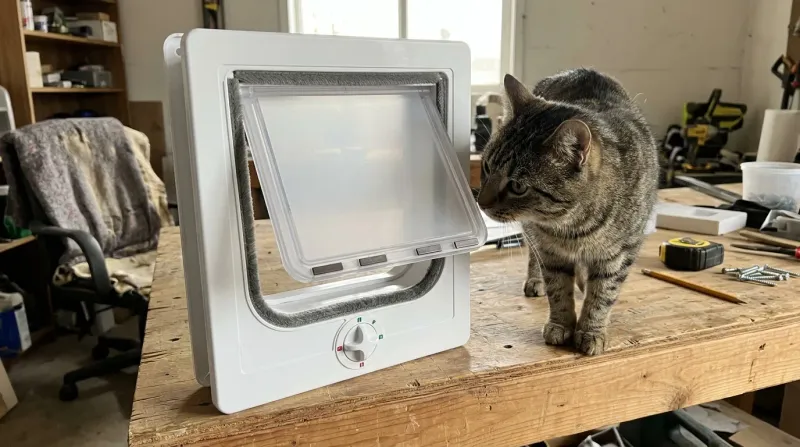
Look for an exterior-rated model featuring double or triple magnetic flaps, thick brush weatherstripping, and a four-way manual lock or microchip scanner. Microchip readers scan standard 15-digit ISO (FDX-B) veterinary implants so stray animals and raccoons cannot push inside; verify your cat's chip type with your veterinarian beforehand, or plan to use a programmable RFID collar tag if your cat has an older 9- or 10-digit non-ISO chip. Check that the frame is made from UV-stabilized ABS plastic or powder-coated aluminum to prevent warping and cracking in harsh sun or freezing winter weather.
- 2
Measure Your Cat's Height and Shoulder Width
Measure your cat from the floor to the underside of their belly and across the widest part of their shoulders or hips. Add 1 to 2 inches to both numbers so your cat can step through comfortably without scraping their spine or whiskers. If you share your home with a large breed like a Maine Coon or a senior cat with arthritis, follow a complete guide on cat door dimensions to avoid buying a restrictive frame.
- 3
Inspect the Door or Wall for Hidden Obstacles
Before marking any cut lines, check your installation spot for structural rails, decorative molding, electrical wires, and plumbing pipes. On exterior doors, stay at least 3 to 4 inches away from the bottom and side edges so the door keeps its structural strength. If you are mounting the unit through an exterior wall, inspect both the interior and exterior wall surfaces for utility meters, outdoor spigots, vents, and siding joints, scan the area with a stud finder and an AC voltage detector, and drill a small exploratory hole to visually check the wall cavity for non-metallic PEX/PVC pipes or low-voltage wiring before cutting.
- 4
Mark the Cutout Using the Manufacturer's Template
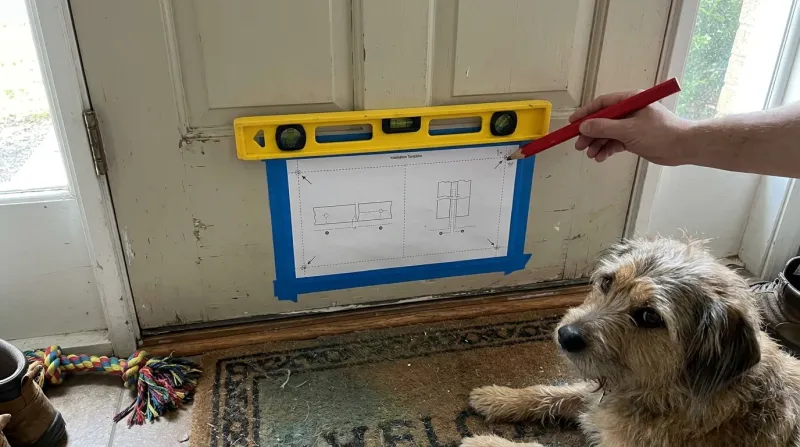
Tape the paper cutout template onto the door so the bottom edge of the opening sits level with the underside of your cat's belly—typically 4 to 6 inches off the floor for adult cats, or lower for kittens and senior pets. Use a spirit level to make sure the horizontal lines are straight, then trace the outline and drill-hole centers onto the surface with a sharp pencil.
- 5
Drill Pilot Holes at the Corners
Apply painter's tape over the exterior exit points or clamp a scrap wood backing board firmly against the outside face of the door to prevent exit-hole splintering and veneer blowout. Put on safety glasses and ear protection, then drill a 3/8-inch or 1/2-inch hole inside each corner of your traced outline. Keep the drill perpendicular to the door surface so the holes pass straight through to the exterior side without angling into the frame. These pilot holes create clean turning points for your jigsaw blade and prevent splintering along the edges.
- 6
Cut Out the Opening Smoothly
Insert a fine-tooth wood or metal jigsaw blade into one of the corner holes and slowly cut along the penciled line. Apply painter's tape over the cut path beforehand to protect paint or fiberglass finishes from scratches. Support the center cutout piece near the end of your final cut so it does not drop suddenly and tear the outer veneer, then smooth rough edges with medium-grit sandpaper.
- 7
Dry-Fit the Frame and Tunnel Liner
Slide the interior and exterior frame halves into the opening without screws or sealant to verify the fit. The tunnel should sit flush against both faces of the door without pinching the flap mechanism. If the opening feels tight in one spot, remove the frames and file down the high point rather than forcing the plastic housing, which can warp the magnetic seal.
- 8
Seal, Fasten, and Train Your Cat
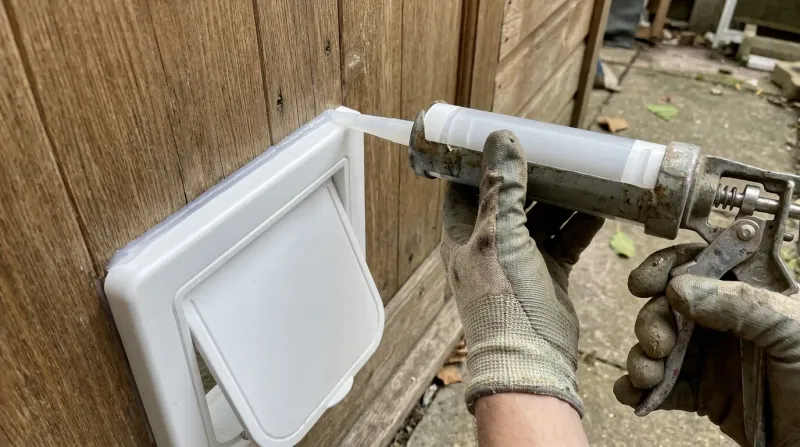
Run a continuous bead of 100% exterior-grade silicone caulk around the back edge of the exterior frame to block rainwater and drafts. Press both halves into place, tighten the mounting screws evenly by hand, and wipe away excess sealant. Prop the flap open with painter's tape for the first few days and encourage your cat through with praise or healthy treats until they push the magnetic seal confidently on their own.
Adapting Installation for Brick, Glass, and Rental Homes
Solid wood and fiberglass doors are straightforward to cut, while masonry walls and glass panels require specialized approaches to protect your home's structure:
- Brick and concrete walls: Use a hammer drill with a masonry bit to drill perimeter holes, then chip out the center with a cold chisel. Always install a telescopic tunnel liner and seal both exterior and interior flanges with masonry caulk to block moisture from entering the wall cavity.
- Sliding glass doors: Never attempt to cut tempered glass, as it will shatter immediately. Instead, use a spring-loaded panel insert that sits inside the existing track, or review these cat doors for sliding glass doors for options that require zero cutting. Keep in mind that spring-loaded glass door inserts prevent the sliding door's built-in factory latch from engaging, so you must install a secondary security bar (charley bar) or auxiliary track lock to keep the sliding door secure.
- Renters and no-cut setups: If your lease prohibits permanent changes, sash window inserts and screen door flaps offer reversible access. You can explore more cat door ideas without cutting your door to keep your security deposit intact.
Outdoor Safety and Weatherproofing Best Practices
Giving a cat outdoor access comes with important health and security responsibilities. Veterinarians strongly recommend ensuring your cat is microchipped, spayed or neutered, and up to date on core vaccines and flea, tick, and heartworm preventatives before using an exterior flap. If your cat has unrestricted yard access, remove toxic garden plants like lilies, sago palms, and azaleas, and keep antifreeze and slug baits locked away.
To prevent wildlife such as raccoons or stray cats from entering your house, choose a microchip-activated or programmable RFID collar-key door with a mechanical latch rather than a basic unlocked or simple magnetic-latch flap, which raccoons can easily pry open. When temperatures drop below freezing or during severe storms, slide in a solid security panel to stop heat loss and keep curious pets safely indoors.
Taking time to measure your cat's belly height, check for hidden wires, and seal the exterior flange with silicone ensures your new cat door stays draft-free and secure for years. Introduce the flap gradually with positive rewards, keep your pet's microchip and vaccinations current, and enjoy giving your cat safe, independent access to the outdoors.
Frequently asked questions
Can you put a cat door in a metal or fiberglass exterior door?
Yes, you can install a cat door in steel-clad or fiberglass exterior doors using a jigsaw fitted with a fine-tooth bi-metal blade. Apply painter's tape along the cut line to prevent chipping, drill corner pilot holes first, and use a model with a telescopic tunnel liner to cover the exposed foam core.
How far off the ground should an exterior cat door be?
Mount the bottom edge of the cat door opening level with the underside of your cat's belly, which is usually 4 to 6 inches above the floor for an average adult cat. Place it slightly lower—around 3 inches—for kittens, short-legged breeds, or older cats with joint stiffness.
How do I stop raccoons and stray cats from using my cat door?
Install a microchip-activated or RFID collar-key cat door that stays mechanically locked until it scans your specific cat's chip. Avoid simple unlocked magnetic flaps in areas with raccoons, opossums, or neighborhood strays, as wildlife can easily push past standard magnetic catches.
Do exterior cat doors let in a lot of cold air?
Cheap single-flap models let in noticeable drafts, but insulated exterior cat doors with double magnetic flaps and dense brush seals minimize heat loss. For extra protection during winter cold snaps, choose a unit that includes a snap-in solid thermal cover.

Nathan Brooks
Nathan Brooks runs Farmingzoom to help loving pet owners create safe, enriching homes for their animals. He cares deeply about responsible pet care and focuses on making everyday decisions simpler for fellow owners.…