Time needed
3 h
What you need
- 1 sheet of 3/4-inch birch plywood (4x4 feet)
- 2 kiln-dried 4x4 pine posts (8 feet each)
- 300 feet of 3/8-inch untreated natural sisal rope
- 1 yard of low-pile, loop-free carpet or faux fur
- 1 threaded steel rod (1/2-inch diameter, 12 inches long)
- 1 matching 1/2-inch T-nut or threaded wood insert, 1/2-inch hex nut, and 2-inch fender washer
- 2 double-ended hanger bolts (3/8-inch x 3 inches)
- 2 heavy-duty metal L-brackets with 3/4-inch wood screws
- 10-inch square of 1/2-inch EVA foam or non-slip rubber pad
- Box of 3-inch wood screws and 3/8-inch heavy-duty staples
Tools
- Tape measure and stud finder
- Circular saw or jigsaw
- Power drill with 1/4-inch (or 9/32-inch) and 3/8-inch twist bits, plus a 5/8-inch spade bit
- 120-grit sandpaper
- Heavy-duty staple gun
- Rubber mallet
- Open-end wrench matching the hex nut
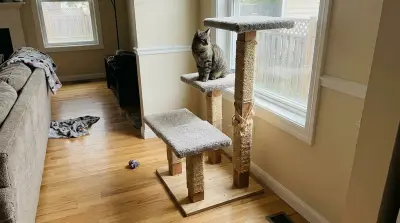
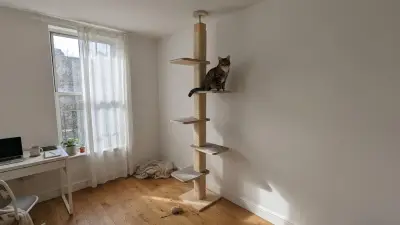
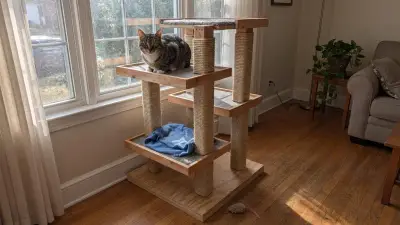
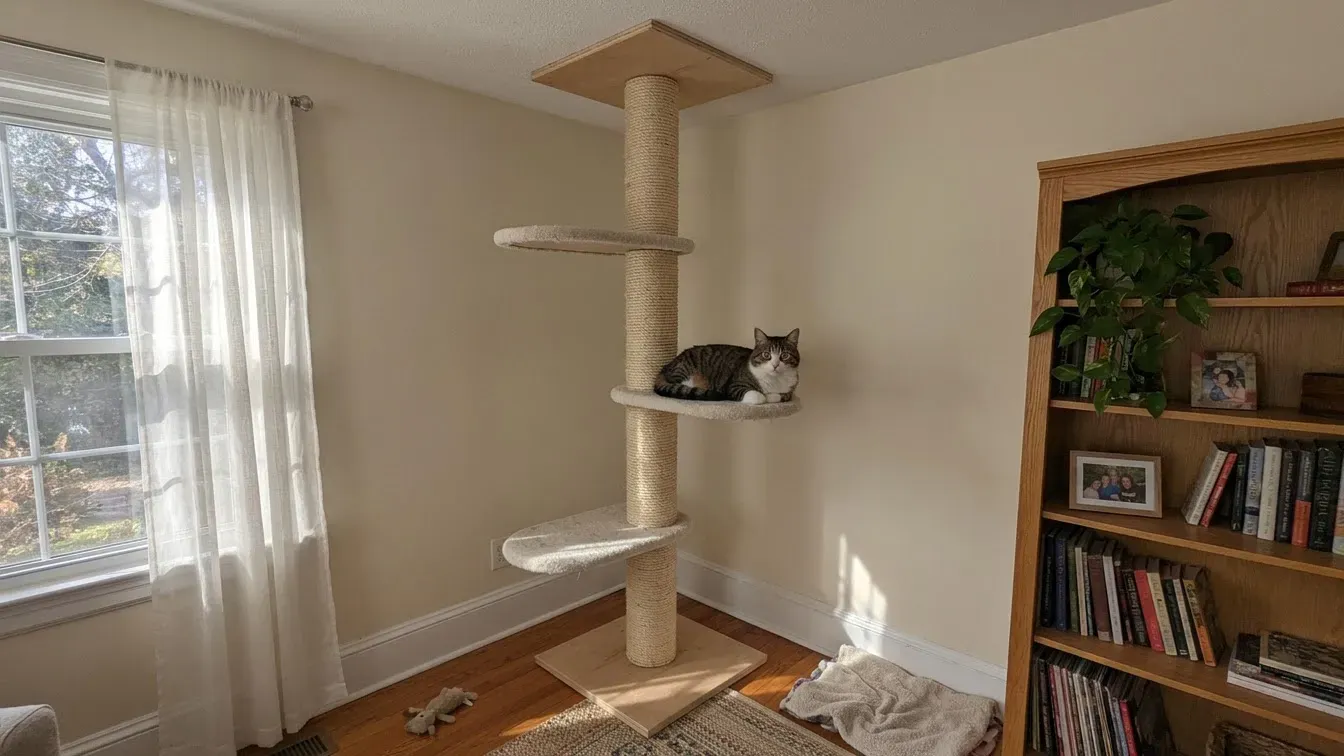
You can build a sturdy DIY floor to ceiling cat tree without drilling a single hole into your walls or ceiling by combining a weighted plywood base with a padded threaded tension rod. Indoor cats naturally seek high perches to survey their territory, reduce stress, and burn energy, yet standard lease agreements prohibit permanent wall anchors.
This tension-mounted tower solves that problem by pressing gently against a ceiling joist through a wide, non-marking pressure plate. You get a tall, wobble-free climbing column that fits standard 8-foot to 9-foot apartment ceilings and disassembles cleanly when you move out.
- 1
Measure Ceiling Height and Locate Joists
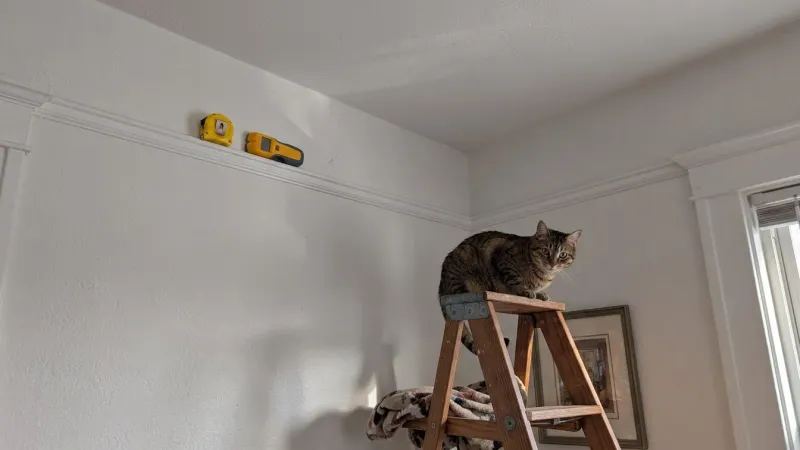
Measure the exact distance from your floor to the ceiling in your chosen corner using a tape measure. Subtract 4 inches from that measurement to determine your total wooden post height, leaving room for the base thickness and adjustable tension hardware. Run a stud finder across the ceiling to locate a solid wood joist, which prevents drywall bowing under upward pressure.
- 2
Cut the Base, Platforms, and Top Plate
Cut a 24-inch by 24-inch square from 3/4-inch birch plywood for the heavy floor base. Cut three 14-inch by 16-inch oval or rounded-corner platforms for lounging perches (two to sandwich between the three post sections, and a third to mount to the side of the upper post using heavy-duty L-brackets), plus one 10-inch by 10-inch square for the ceiling pressure plate. Sand all cut edges smooth with 120-grit sandpaper so no splinters catch your cat's paws.
- 3
Cut and Join the Main Support Posts
Cut three 4x4 kiln-dried pine posts to equal lengths that add up to your target post height minus platform thicknesses. Drill a 1/4-inch or 9/32-inch center pilot hole 3 inches deep into the joining ends of each post section so the threads bite securely into the wood, and drill a 3/8-inch center through-hole in two of the platforms. Join all three post sections together using the two 3/8-inch double-ended hanger bolts with a plywood platform sandwiched cleanly at each of the two joints, then attach the third platform to the side of the top post using two heavy-duty L-brackets and 3/4-inch wood screws.
- 4
Wrap the Posts in Untreated Sisal Rope
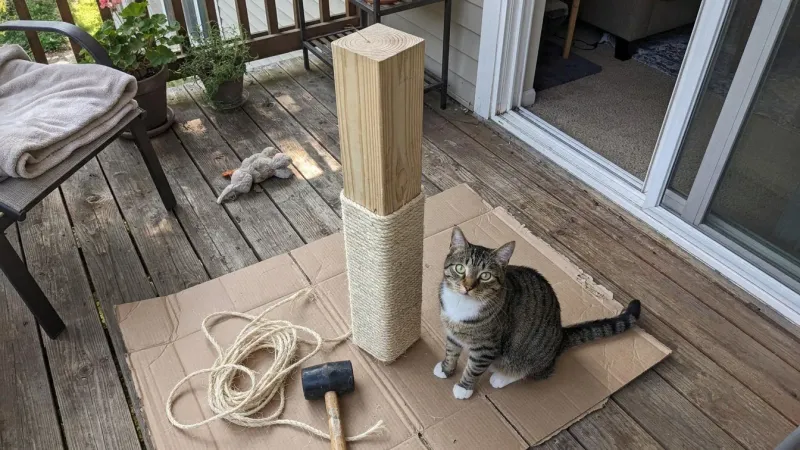
Select 3/8-inch untreated, oil-free natural sisal rope, as chemical oils and synthetic treatments irritate feline paws and stomachs. Staple the starting end near the bottom of each post section. Wind the rope tightly upward, tapping every few rows downward with a rubber mallet to eliminate gaps, and secure the top end with heavy-duty staples.
- 5
Upholster Platforms and Pad the Top Plate
Wrap the base and lounging platforms in low-pile loop-free carpet or thick faux fur so claws do not snag. Fold the fabric tightly underneath and secure it with 3/8-inch staples every 2 inches. Glue a 1/2-inch thick piece of high-density EVA foam or non-slip rubber shelf liner onto the top face of the 10-inch ceiling plate to protect paint.
- 6
Install the Tension Rod Mechanism
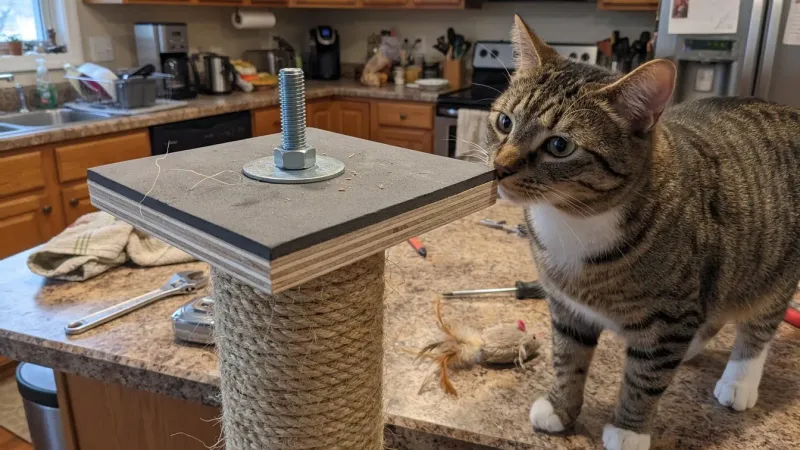
Drill a 5/8-inch hole 4 inches deep straight down into the center top of the highest post section and tap a 1/2-inch T-nut or threaded wood insert flush into the top opening so its metal flange is anchored securely in the wood. Thread a 1/2-inch hex nut and a wide fender washer onto a 1/2-inch threaded steel rod, then thread the rod down into the T-nut insert. Set the padded 10-inch ceiling plate over the top tip of the rod so the washer supports the plate from underneath.
- 7
Assemble and Tension the Tower Upright
Attach the bottom post to the center of the 24-inch base from underneath using four 3-inch wood screws countersunk flush into the plywood. Carry the assembled tower to your marked ceiling joist spot. Turn the hex nut upward against the T-nut flange with an open-end wrench to extend the threaded rod until the padded ceiling plate presses firmly against the ceiling without flexing the drywall.
Renter Safety Checks and Ceiling Limits
Before tightening the tension rod, verify your ceiling type. Standard painted drywall backed by wood joists handles compression safely when you use a wide top plate to distribute the load. Never install a tension cat tree under drop-ceiling tiles, thin acoustic panels, or textured popcorn ceilings, as upward pressure can crack fragile tiles or crush plaster textures.
Check the tower weekly during the first month. Wood settles and sisal rope stretches slightly under active jumping, which can loosen the top tension. Give the post a firm lateral shake every weekend and turn the hex nut a quarter-turn if you feel any play. If you share your home with very large breeds, review our guide to building a sturdy DIY cat tree for large heavy cats for wider base dimensions.
Multi-Cat and Small Space Variations
If two or more cats will share the tower, stagger four semicircular platforms at 16-inch vertical intervals instead of three. This spacing prevents traffic jams and lets timid cats pass dominant housemates without cornering each other. Keep the lowest perch at least 24 inches off the floor so older cats or kittens with developing joints can step up easily without straining.
In narrow hallways or studio corners where a 24-inch square base feels bulky, substitute a 20-inch round plywood base and add a 15-pound barbell weight plate hidden beneath the carpet cover. For even tighter floor plans, explore small cat trees for apartments that save floor space.
Building your own tension-mounted cat tower gives your cat vertical exercise and safe high perches while keeping your apartment walls completely hole-free. Double-check the ceiling pad alignment, inspect the nut tension every few weeks, and replace worn rope whenever fibers fray using tips from our guide to cat tree replacement parts and fixing worn posts.
Sources: International Cat Care · ASPCA
Frequently asked questions
Will a tension-rod cat tree damage my apartment ceiling?
No, provided you center the top plate under a solid wood ceiling joist and line it with thick EVA foam or non-slip rubber. A 10-inch square plate distributes upward pressure across 100 square inches, preventing dents, paint scuffs, or drywall cracks.
How much weight can a DIY floor-to-ceiling cat tree hold?
When built with 4x4 solid pine posts, a 24-inch plywood base, and a 1/2-inch steel tension rod braced against a ceiling joist, the structure easily supports 40 to 50 pounds of combined cat weight and active leaping force.
What kind of rope is safe for a DIY cat scratching post?
Use 100 percent natural, untreated sisal rope labeled free of chemical oils or pesticides. Avoid nylon or polyester cords that shred into swallowable strings, and skip loop-pile carpets that can catch and injure cat claws.
How do I keep a tall cat tree from wobbling without wall anchors?
Combine a wide, heavy 3/4-inch plywood base at the bottom with firm upward compression at the top. Tightening the hex nut against a wide fender washer locks the post between the floor and ceiling joist so it cannot tip.

Nathan Brooks
Nathan Brooks runs Farmingzoom to help loving pet owners create safe, enriching homes for their animals. He cares deeply about responsible pet care and focuses on making everyday decisions simpler for fellow owners.…