Time needed
2 h 30 min
What you need
- 2 sheets of 3/4-inch birch plywood (2x4-foot handy panels, or one 4x4-foot sheet)
- 1 kiln-dried 4x4-inch pine post (8 feet long for ceilings up to 8 feet, or 10 feet long for 9- to 10-foot ceilings, untreated)
- 100 feet of 3/8-inch natural untreated sisal rope
- 1 yard of dense wool felt or low-pile carpet remnant
- 1 heavy-duty 6-inch galvanized threaded rod with matching flange nut (or jam nuts and heavy steel flat washers)
- 1 swivel or flat top plate with a wide non-slip rubber furniture pad
- 1 rubber anti-vibration mat (for under the plywood base)
- 6 to 8 heavy-duty steel L-brackets
- Box of 3-inch wood screws and 1.25-inch wood screws
- Non-toxic wood glue (or heavy-duty non-toxic hot glue sticks) and temporary painter's tape
Tools
- Circular saw or jigsaw
- Cordless drill and drill bit set
- Heavy-duty staple gun and 3/8-inch staples (for platform upholstery)
- Adjustable wrench
- Rubber mallet
- Sandpaper (120-grit and 220-grit)
- Tape measure and pencil
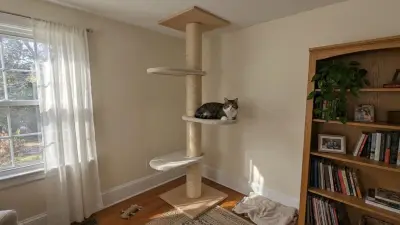
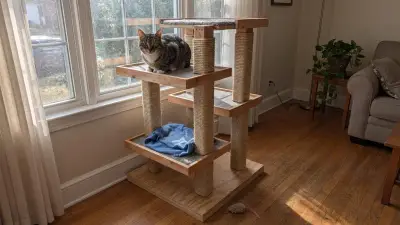
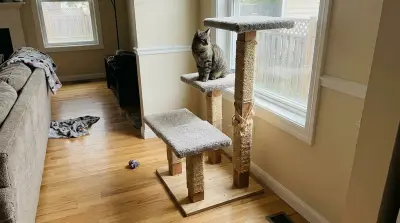
You can build a slim, ceiling-tensioned cat tree that uses less than 1.5 square feet of floor space while giving your indoor cat vertical territory from floor to ceiling. In a single-room studio where your bed, desk, and sofa share the same tight footprint, bulky store-bought towers quickly block walkways and dominate the room.
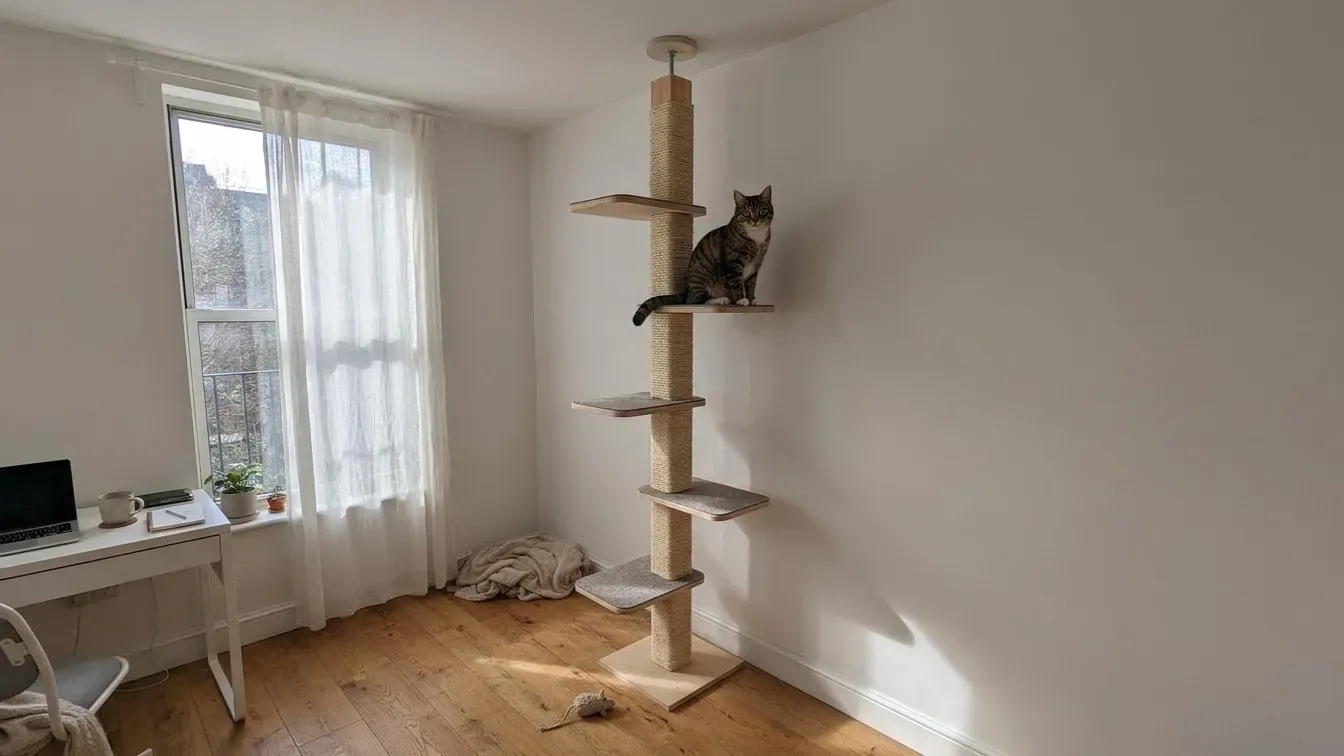
By stacking narrow shelves along a vertical support post and bracing the top against your ceiling with a threaded tension rod, you keep your walkways open and avoid drilling holes into rental drywall. This build combines sturdy sisal scratching posts, quiet felt-lined landing pads for downstairs neighbors, and an elevated lookout perch away from your desk and bed.
- 1
Measure Ceiling Height and Choose a Corner
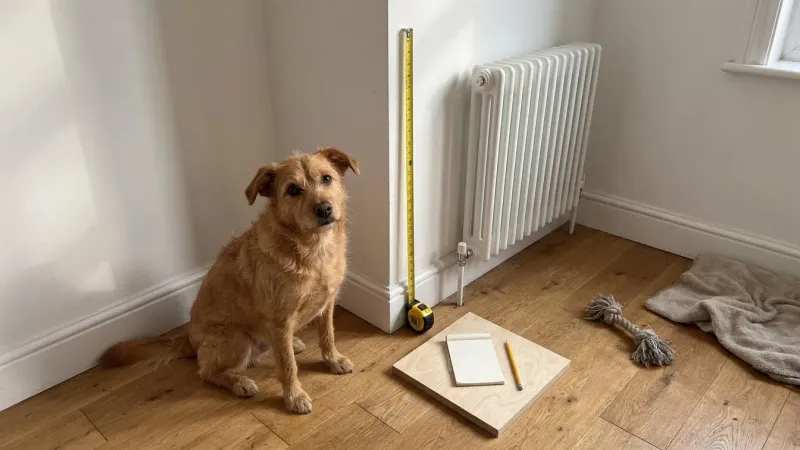
Measure the exact distance from your studio floor to the ceiling in your chosen corner, checking for crown molding, baseboards, or vents. Select a spot that offers at least 14 by 14 inches of clear floor space and 24 inches of open landing room in front of the tower. Measuring twice ensures your central post and ceiling tension mechanism fit snugly without bending or slipping.
- 2
Cut the Base and Narrow Climbing Platforms
Cut a 14-by-14-inch square from 3/4-inch birch plywood for the floor base, and cut three or four smaller shelves measuring 12 by 16 inches for the climbing levels. Round off every sharp corner with a jigsaw or heavy sandpaper so neither you nor your cat bumps into hard edges in a narrow studio walkway. Sand all wood surfaces smooth to prevent splinters.
- 3
Assemble the Central Vertical Support Post
Cut your 4x4-inch kiln-dried pine post 4 inches shorter than your ceiling height to leave room for the top tension hardware (note that a standard 8-foot post only fits ceilings up to 8 feet or 96 inches high; taller 9- or 10-foot studio ceilings require a 10-foot post). Center the bottom of the post on the plywood base, pre-drill pilot holes from underneath, and drive four 3-inch wood screws through the base into the post. Countersink the screw heads so the underside sits completely flat on your floor.
- 4
Install the Ceiling Tension Rod Mechanism
Drill a vertical guide hole 3 inches deep into the exact center of the top end of your 4x4 post, matching the diameter of your heavy-duty threaded rod, and place a heavy steel flat washer over the opening. Slide a flange nut (or a washer-and-jam-nut assembly) onto a 6-inch galvanized threaded rod, drop the rod into the hole so the nut bears directly against the top washer, and cap the upper end with a flat or swivel top plate padded with a wide rubber furniture pad. Turning the nut with a wrench pushes upward against the top plate to press firmly against the ceiling without sinking the rod into the wood or damaging paint.
- 5
Wrap Scratching Sections with Natural Sisal Rope
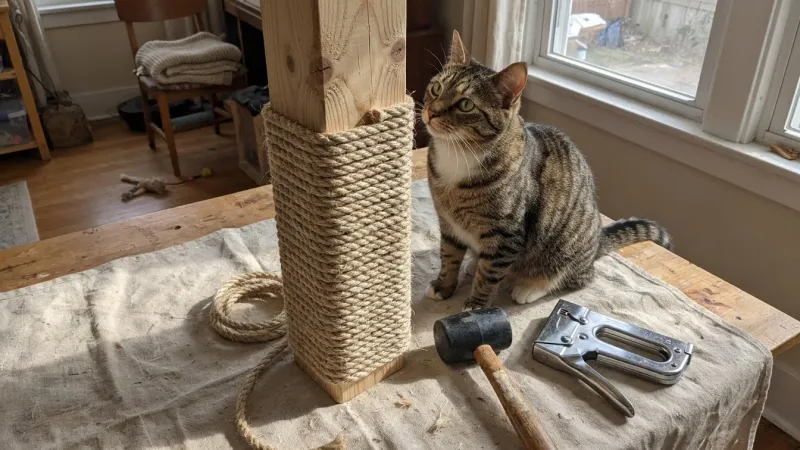
Apply a bead of non-toxic wood glue (or heavy-duty non-toxic hot glue) near the bottom of the post, press the end of your 3/8-inch untreated sisal rope into place, and hold it with temporary painter's tape while the glue dries—avoiding exposed metal staples that can catch and tear your cat's claws. Wind the rope tightly upward, tapping each coil down with a rubber mallet so no wood gaps show through. Leave bare wood spaces where your shelves will attach, then wrap the upper sections and secure the rope ends with wood glue and temporary tape or countersunk screws driven cleanly into the underside of the shelf brackets.
- 6
Upholster Platforms with Felt for Quiet Landings
Cut thick wool felt or low-pile carpet pieces 2 inches larger than each plywood shelf on all sides. Wrap the fabric tightly over the top surface, fold the corners neatly underneath, and staple them securely to the bottom of the wood. Covering the platforms softens landing sounds for downstairs neighbors and prevents your cat from slipping during high jumps.
- 7
Mount Staggered Shelves Around the Post
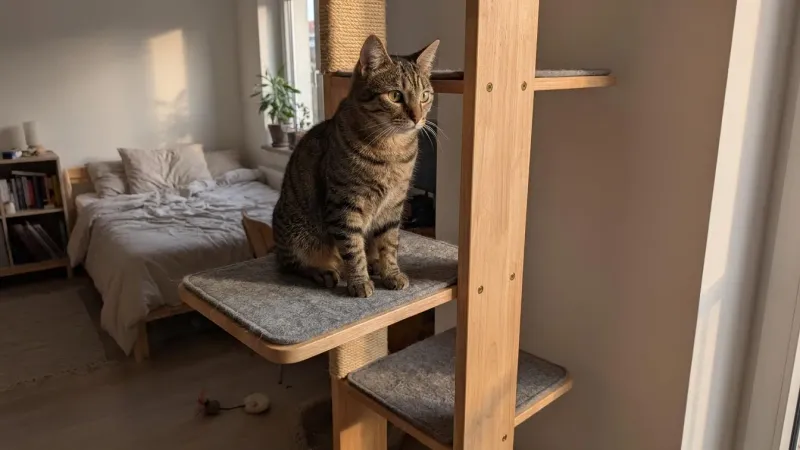
Attach your upholstered shelves at 14- to 16-inch vertical intervals, rotating each platform 90 degrees around the post to create a spiral staircase effect. Fasten each shelf to the 4x4 post using two heavy-duty steel L-brackets and 1.25-inch wood screws underneath. Staggering the angles keeps the overall width under 20 inches while giving your cat easy upward steps.
- 8
Brace the Tower Against the Ceiling and Test
Place a rubber anti-vibration mat under the plywood base, stand the tower upright in your corner, and turn the top tension nut with a wrench until the rubber ceiling pad presses tightly against the ceiling. Push and pull the post firmly from every direction to confirm zero wobble before letting your cat climb. Recheck the tension nut after one week as the wood settles.
Studio Placement Tips for Shared Living and Sleeping Zones
Where you anchor your tower in a single room affects both your daily workflow and your sleep. Place the tree near a window on the opposite side of the studio from your bed so early-morning zoomies stay away from your pillow. Giving your cat a sunny window view also encourages daytime napping while you work.
If you work from home, avoid putting the lowest perch right next to your desk chair, or your cat may use the tower as a springboard onto your keyboard. Instead, angle the climbing steps toward an unused corner and keep at least 24 inches of clear landing space in front of the bottom platform so your cat can jump down safely without hitting furniture.
Noise Control and Safety Adjustments by Cat Size and Age
In multi-story apartment buildings, heavy landings on bare wood platforms carry straight through the floor to downstairs neighbors. Gluing dense wool felt or low-pile carpet remnants onto every shelf dampens impact noise and gives your cat reliable claw traction during fast climbs.
Adjust the platform spacing and thickness to match your cat's physical needs. Kittens and senior cats with stiff joints need shorter vertical jumps of 10 to 12 inches between steps, plus wider 16-inch platforms so they never feel crowded. If you share your studio with a large breed weighing over 15 pounds, upgrade to 1-inch solid wood boards, use three heavy-duty L-brackets per shelf, and widen the base to 18 by 18 inches, or follow our guide on building a sturdy DIY cat tree for large heavy cats for extra reinforcement.
Smart Dual-Purpose Variations for Ultra-Tight Corners
When even a 14-inch base feels tight, adapt the vertical column to work alongside existing studio furniture. You can clamp or brace the lower post behind a sturdy bookshelf, turning the top of the bookcase into a wide lounging deck without adding another footprint to the floor. For more inspiration on combining storage and climbing zones, explore these cat tree bookshelf ideas that blend feline fun with home storage.
If your ceiling has fragile acoustic popcorn texture or uneven plaster that cannot support upward tension pressure, switch to a freestanding narrow base weighted with a concealed paver stone, or check out wall-mounted cat trees for small studio apartments that lift the entire climbing path off the floor.
Once your tension tower is locked into place, sprinkle a pinch of dried catnip on the top perch and guide your cat up the lower steps with a wand toy. Check the ceiling tension rod and bracket screws once a month to keep the tower rock-solid as your cat leaps up and down each day.
Sources: International Cat Care · Cornell Feline Health Center · ASPCA
Frequently asked questions
Will a ceiling-tensioned cat tree damage my rental apartment ceiling?
When topped with a wide, soft rubber furniture pad and tightened smoothly by hand and wrench, a tension rod holds steady using friction without nails or screws. Avoid over-tightening on hollow drywall between joists, and place the top pad directly beneath a solid ceiling joist whenever possible.
How much floor space does a vertical studio cat tree need?
A ceiling-braced design needs only a 14-by-14-inch base, which is roughly 1.36 square feet of floor space. You should also leave about 24 inches of open floor in front of the lowest platform so your cat has a clear, safe spot to jump down.
What rope is safest for wrapping a DIY cat scratching post?
Use untreated, natural 3/8-inch sisal rope made without chemical oils, dyes, or synthetic coatings. Avoid cotton clothesline, which shreds quickly under sharp claws, and never use rope treated with anti-mildew chemicals that could irritate your cat's paws or stomach.
How can I make a DIY cat tree quieter for downstairs neighbors?
Cover every wooden platform with thick wool felt or dense carpet padding to absorb landing thuds, and place a rubber anti-vibration mat underneath the bottom plywood base. Positioning the tower away from thin interior walls also reduces sound transfer.

Nathan Brooks
Nathan Brooks runs Farmingzoom to help loving pet owners create safe, enriching homes for their animals. He cares deeply about responsible pet care and focuses on making everyday decisions simpler for fellow owners.…