Time needed
15 min
What you need
- Brand-specific replacement cat door flap kit (or 1/8-inch thick flexible clear vinyl sheet and adhesive magnetic strip for DIY)
- Replacement mounting screws, pivot washers, or hole plugs (usually included in kits)
- Phillips-head screwdriver
- Heavy-duty utility shears and hole punch (if making the DIY flap)
- Mild dish soap and warm water
- Microfiber cloth
Tools
- Steel tape measure
- Phillips-head screwdriver
- Small bowl for holding screws
- Heavy-duty utility shears and hole punch (for DIY vinyl flaps only)
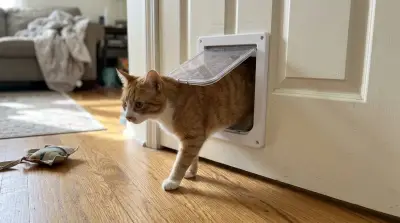
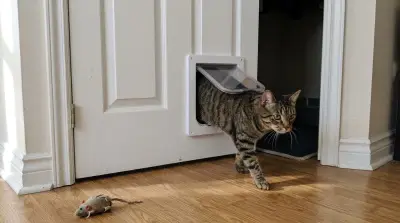
You can measure and install a cat door replacement flap in about 15 minutes using just a tape measure and a screwdriver. Swapping out a cracked, stiff, or missing flap stops cold drafts from entering your home and keeps your cat moving freely without pinching their tail or whiskers.
Because pet door flaps are built to fit specific frames rather than universal sizes, getting the exact measurements first saves you from ordering the wrong part. Below, you will learn how to identify your door model, measure the opening accurately, install a factory replacement kit, or make a safe DIY flap if your model has been discontinued.
- 1
Identify your pet door brand and model
Check the inner or outer plastic frame for a molded brand name, logo, or serial sticker. Replacement flaps are designed for specific product lines rather than universal openings, so knowing whether you own an original series, designer frame, or telescoping model narrows your search immediately.
- 2
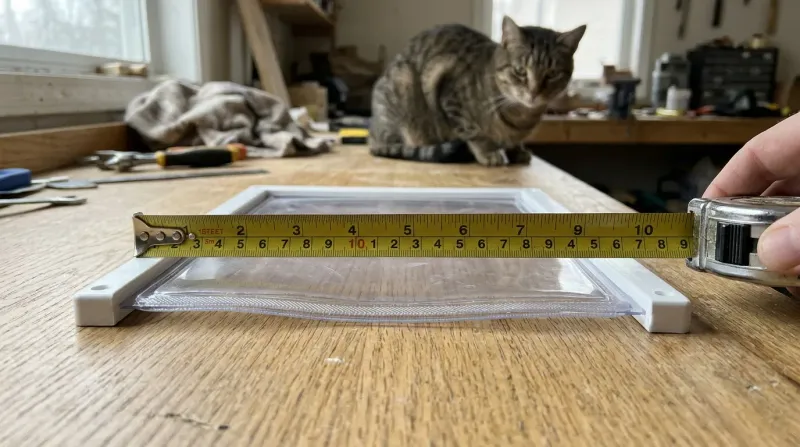
Measure the existing flap width and height
Use a steel tape measure to record the exact width and height of the flap itself, not the outer wall frame. Measure from the very top edge inside the clamp bar down to the bottom tip. For example, a standard small cat flap often measures around 6-1/4 by 6-1/4 inches, though sizes vary by brand. If you need help checking overall cutout specs, review our guide to cat door dimensions and sizing.
- 3
Count and space the top mounting holes
Look along the top edge of the flap where it attaches to the frame. Count the number of screw holes or rivets—most cat flaps use two to four—and measure the exact distance from center to center between each hole. Taking a quick photo of the top edge helps you match hole patterns online.
- 4
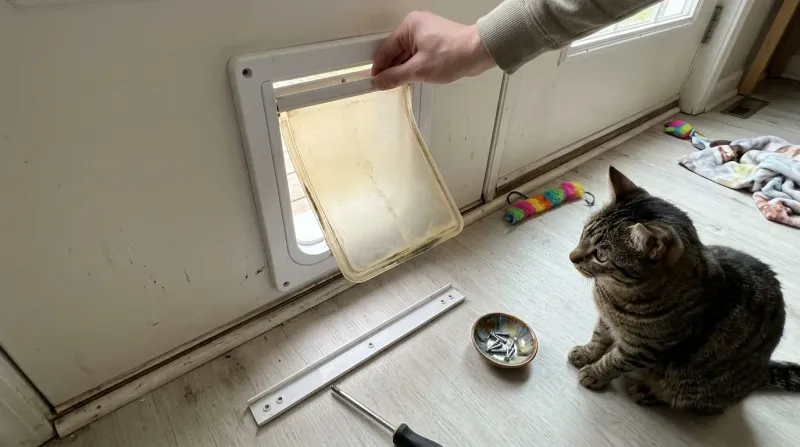
Unscrew the retaining bar and remove old flap
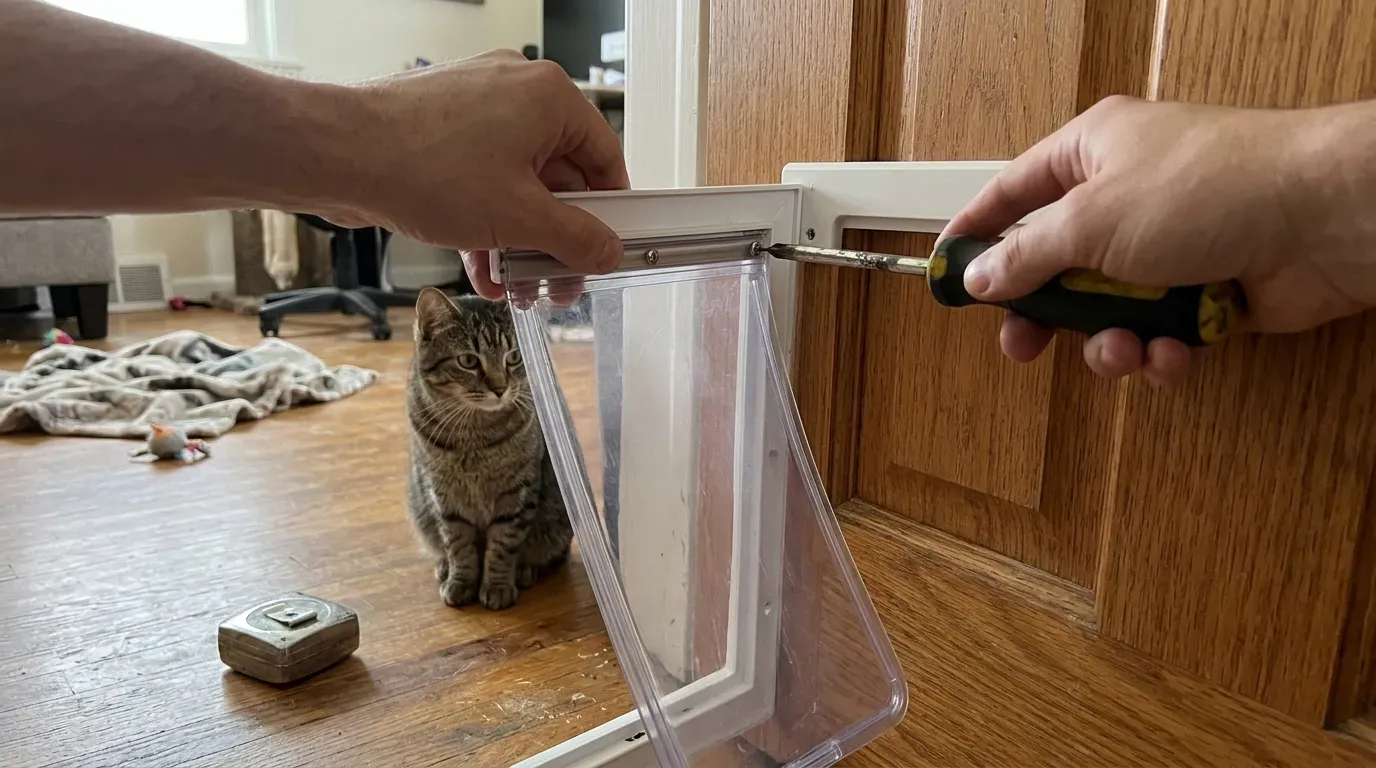
Use a Phillips-head screwdriver to loosen and remove the screws holding the top retaining strip or clamp bar in place. Set the screws and any small pivot washers or hole plugs in a small bowl so they do not roll away, then slide the worn flap out of the channel.
- 5
Clean the frame channel and magnet strip
Wipe down the top hinge slot, side weatherstripping, and bottom threshold with a damp microfiber cloth and mild dish soap. Accumulated pet hair, dust, and outdoor grime prevent a new flap from swinging smoothly and keep the bottom magnet from sealing tightly. Dry the frame completely before installing the new piece.
- 6
Align and secure the replacement flap
Slide the top edge of your new replacement flap into the frame slot and line up the pre-punched holes with the screw posts. Reinstall any included pivot washers, place the retaining bar over the top, and tighten the screws until snug—stopping before the plastic bar bends or pinches the vinyl.
- 7
Test the swing and magnetic seal
Push the flap gently in both directions to confirm it swings smoothly without rubbing against the side frame. Let go and watch it settle: the bottom magnet should catch the threshold cleanly with no air gaps. If you also use a rigid security panel at night, make sure your cat door blocker solution still slides into place without hitting the new flap.
Choosing Between Clear and Frosted Replacement Flaps
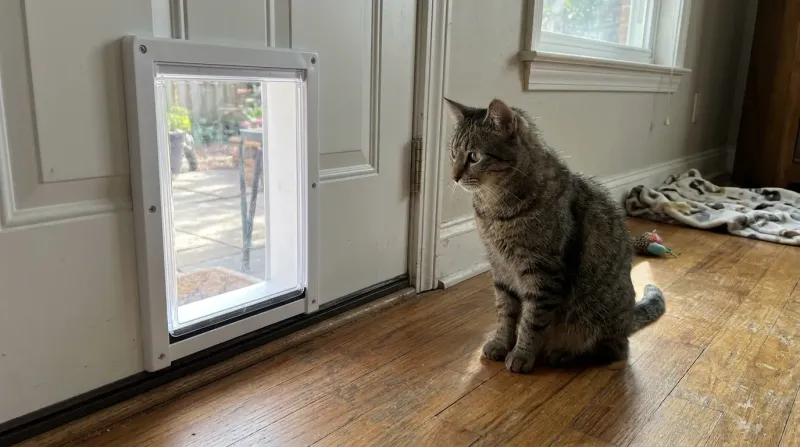
When ordering a new panel, you will often see options for clear flexible vinyl or textured frosted flaps. Clear flaps let cautious cats see through to the other side before pushing through, which helps timid pets feel confident. Frosted or textured flaps hide scuffs and fur smudges better and offer extra privacy so passersby cannot peer into your house.
Older cats with stiff joints or small kittens also benefit from lightweight, pliable vinyl rather than heavy rigid plastic. If your cat hesitates with a stiffer new flap, tape it open for a day or two while they get used to the feel.
Budget DIY Flap Alternatives for Discontinued Doors
If your pet door brand no longer sells parts, you can cut a custom flap from heavy-duty clear vinyl sheeting (around 1/8 inch thick) sold by the foot at hardware stores. Trace your old flap onto the vinyl, cut it out with sharp utility shears, punch matching screw holes at the top, and transfer the bottom magnetic strip from the old flap or attach an adhesive magnetic strip to the bottom edge so it seals against the frame threshold.
Avoid brittle acrylic or thin shower curtains. Hard plastic can crack into sharp edges that injure your pet, and thin film blows open in light wind. If you are upgrading an exterior entry altogether, check our guide on how to choose and install an exterior cat door safely.
Common Mistakes That Ruin the Weather Seal
- Over-tightening the top screws: Cranking the retaining bar down too hard pinches the vinyl, preventing the flap from swinging freely and causing it to hang open.
- Skipping the bottom magnet check: Many flaps rely on a bottom magnetic strip to snap shut against the frame. Make sure the polarity aligns so the magnet pulls inward rather than repelling.
- Ignoring frame dirt and pet hair: Built-up fur and grit in the hinge channel keep a brand-new flap from hanging straight.
Replacing a worn cat door flap takes minimal effort and restores both home insulation and safe, snag-free access for your pet. Once your new flap is installed, wipe the vinyl edges and bottom magnet once a month to remove fur buildup so the door continues swinging smoothly and sealing out drafts all year.
Frequently asked questions
Can you replace just the flap on a cat door?
Yes, almost all major pet door brands sell individual replacement flap kits. You only need to unscrew the top retaining strip inside the frame, slide out the damaged vinyl or plastic panel, and secure the new flap using the existing screw holes.
Are cat door replacement flaps universal?
No, replacement flaps are not universal. Each brand and model uses distinct flap dimensions, top hole spacing, and magnetic alignment. Always measure your old flap's exact width, height, and screw hole spacing before ordering a replacement.
What can I use instead of a replacement cat flap?
If your door model is discontinued, cut a custom flap from 1/8-inch thick flexible clear vinyl sheeting sold at hardware stores. Avoid rigid acrylic or thin plastic film, as hard plastic can crack and injure your cat while thin sheets blow open easily.
Why will my new cat door flap not close all the way?
A new flap usually hangs open because the top mounting screws are over-tightened, pinching the vinyl, or because fur and dirt are blocking the hinge channel. Loosen the screws a quarter turn and clean the frame edges so the bottom magnet catches cleanly.
Nathan Brooks
Nathan Brooks runs Farmingzoom to help loving pet owners create safe, enriching homes for their animals. He cares deeply about responsible pet care and focuses on making everyday decisions simpler for fellow owners.…