Time needed
15 min
What you need
- 1/4 cup untreated organic oat, wheat, barley, or rye seeds
- Unbleached paper towels or porous clay grow stones
- Shallow heavy ceramic dish or hydroponic sprouting tray
- Clean spray bottle
- Cool tap water
Tools
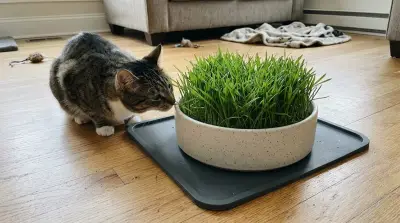
- Low, wide heavy ceramic bowl or hydroponic mesh sprouting tray
- Fine mesh strainer
- Clean spray bottle for misting
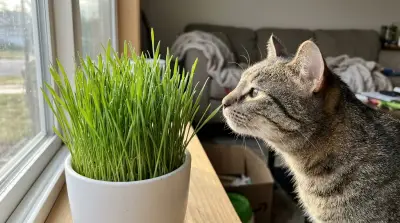
You can grow cat grass without soil in a clean apartment by sprouting oat, wheat, or barley seeds on damp paper towels, hydroponic trays, or porous grow stones. Soil-free methods eliminate loose dirt, muddy paw prints, and spilled potting mix on light carpets and upholstered furniture.
Indoor cats still crave fresh greens to nibble on, and offering safe grass keeps them away from toxic houseplants like lilies, pothos, and philodendrons. With a heavy ceramic dish and fresh tap water, you can sprout a thick, chewable patch of grass in about seven to ten days without opening a single bag of dirt.
- 1
Choose Safe, Untreated Cat Grass Seeds
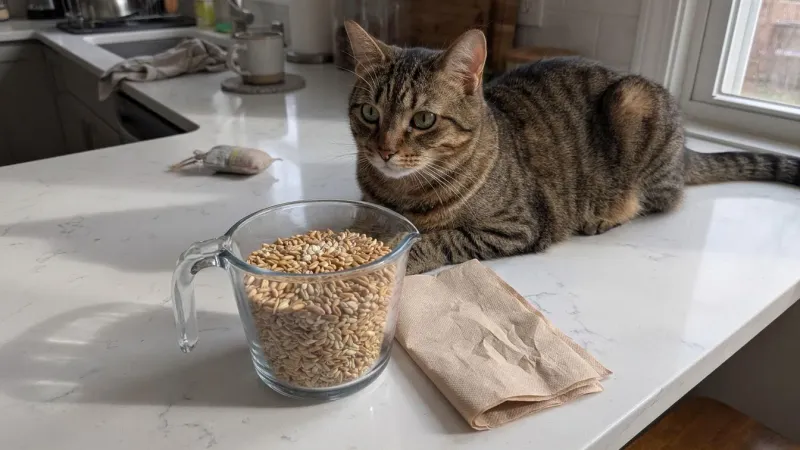
Buy organic, untreated oat, wheat, barley, or rye seeds labeled specifically for pets or sprouting. Avoid lawn grass seed from hardware stores, which often contains chemical fertilizers, fungicides, or coatings that are harmful to cats. Measure about one-quarter cup of dry seeds for a standard six-inch dish.
- 2
Soak the Seeds for Eight to Twelve Hours
Place your measured seeds in a clean glass jar or bowl and cover them with two inches of cool tap water. Let them soak on the kitchen counter for eight to twelve hours to soften the outer hulls and trigger fast germination. Drain the soaking water completely through a fine mesh strainer.
- 3
Select a Heavy, Tip-Proof Container
Pick a low, wide ceramic dish, heavy glass pie plate, or two-tier hydroponic sprouting tray with a water reservoir. A wide base with straight sides prevents enthusiastic cats from flipping the container onto apartment carpets. Wash the container thoroughly with warm dish soap and rinse well before assembling your setup.
- 4
Prepare Your Soil-Free Base Layer
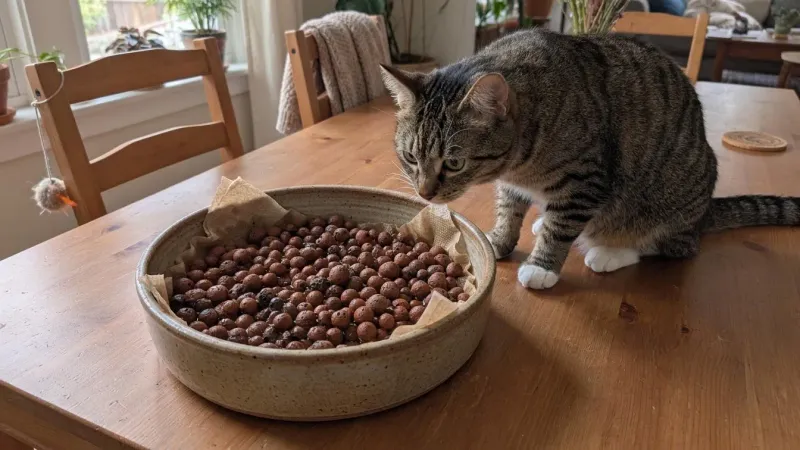
Line the bottom of your dish with three folded layers of unbleached paper towels, or spread a one-inch layer of rinsed clay grow stones topped with a single paper towel. If using a hydroponic mesh tray, simply snap the perforated plastic insert into the bottom water basin with no paper needed.
- 5
Moisten the Base Without Flooding It
Pour clean water over the paper towels or stones until thoroughly damp, then tilt the dish over the sink to drain away any excess pooling liquid. For a hydroponic tray, fill the lower reservoir until the water surface just touches the underside of the plastic mesh without submerging the top surface.
- 6
Spread the Seeds in a Single Layer
Scatter the drained seeds evenly across the damp paper towel or mesh grid in a dense, single layer. Avoid piling seeds two or three layers deep, because stacked seeds trap moisture and develop mold before their roots can anchor. Press the seeds gently with your fingers so each one makes firm contact with the damp surface.
- 7
Cover and Germinate in Indirect Light
Set the dish in a warm spot away from direct afternoon sun, such as a kitchen counter or bright shelf. Loosely tent a second inverted plate or ventilated lid over the dish for the first two days to hold in humidity. Mist the seeds lightly with a spray bottle twice a day until tiny white roots emerge.
- 8
Uncover and Maintain Daily Moisture
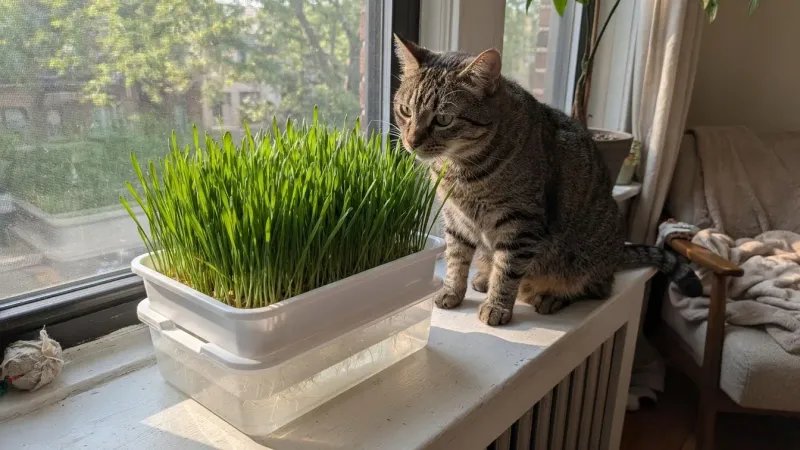
Remove the cover once green shoots appear around day three so fresh air circulates around the growing blades. Keep the paper towel damp or top up the hydroponic reservoir daily, following proven steps to prevent indoor mold. Within seven to ten days, the grass will reach four inches tall and be ready for your cat.
Best Soil-Free Growing Mediums Compared
Different soil-free bases offer varying levels of stability and cleanup ease depending on how aggressively your cat tugs at grass blades. Choose the option that best matches your cat's grazing habits and your apartment setup.
| Medium | Best For | Stability | Cleanup Method |
|---|---|---|---|
| Unbleached Paper Towels | Quick, low-cost batches | Low unless weighted with stones | Roll up root mat and toss in compost or trash |
| Hydroponic Mesh Tray | Zero-mess, repeatable crops | Medium to high with heavy base | Peel tangled roots off plastic grid and rinse |
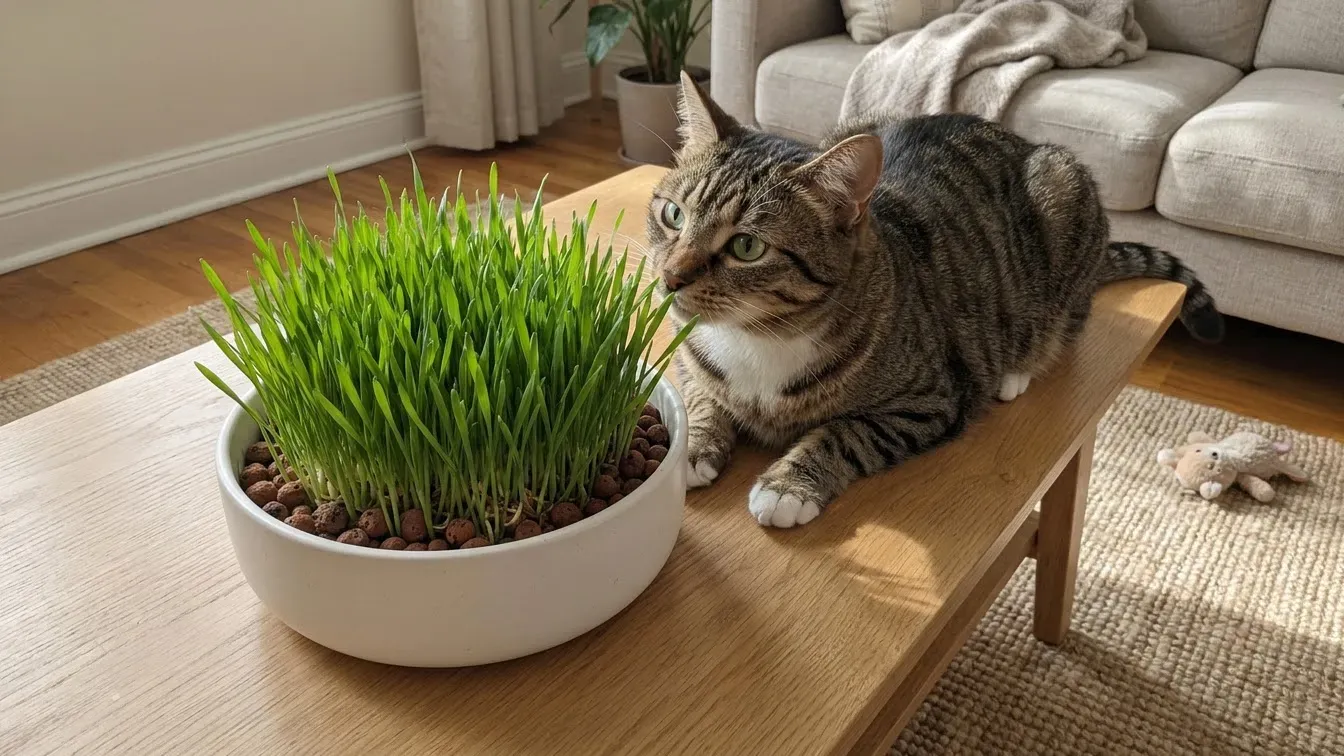
| Porous Clay Grow Stones | Heavy chewers who pull roots | High due to stone weight | Rinse stones in a colander and reuse |
Preventing Mold and Mess in Small Apartments
Standing water and warm indoor rooms can quickly encourage white fuzz or sour odors if moisture is not managed carefully. Keep your hydroponic patch fresh and safe for your cat with a few simple habits:
- Use drainage or shallow water: Never submerge the seeds completely after soaking; roots need oxygen to stay healthy and rot-free.
- Refresh water daily: Pour off stale water from the bottom reservoir every morning and replace it with cool tap water.
- Anchor the container: Place lightweight sprouting trays inside a heavy ceramic dog bowl or choose tip-proof cat grass planter ideas so eager cats cannot knock water onto rugs.
- Discard at the first sign of mold: Sprouted oat, wheat, and barley seeds naturally develop fine, odorless fuzzy white root hairs along the emerging roots that beginners often mistake for mold. Throw away any batch showing true fuzzy gray, green, or black mold or emitting a sour, musty odor, and wash the dish with hot, soapy water before starting fresh.
Safe Grazing Guidelines for Cats
Untreated oat, wheat, rye, and barley grasses are safe, non-toxic greens for cats, unlike ornamental houseplants such as lilies or sago palms that cause severe organ damage. Let your cat nibble small amounts freely, as chewing grass provides natural fiber that supports digestion and helps cats pass hairballs.
Kittens under twelve weeks old or senior cats with dental sensitivity may prefer softer, newly sprouted oat blades cut short with scissors. If your cat vomits repeatedly after eating grass, appears lethargic, or stops eating regular meals, contact your veterinarian to rule out underlying stomach irritation.
Growing cat grass without soil gives your indoor cat a safe, crunchy outlet while keeping your apartment carpets completely clean. Once the blades turn yellow after two to three weeks, lift out the woven root mat, toss it in the trash, wash the dish, and start a fresh batch.
Sources: ASPCA · Cornell Feline Health Center · International Cat Care
Frequently asked questions
How long does soil-free cat grass last before it needs to be replaced?
A batch of soil-free cat grass typically stays green and crisp for two to three weeks. Because water and paper towels lack the nutrients found in soil, the blades will naturally yellow once the seed's stored energy runs out, signaling time for a fresh batch.
How do I stop my cat from pulling the whole grass mat off the paper towel?
Place a layer of clean clay grow stones or glass marbles beneath and slightly around the seeds so roots weave tightly around the heavy stones. Setting the dish inside a heavier ceramic bowl also anchors the grass while your cat chews.
Can I use bleached white paper towels to grow cat grass?
Unbleached brown paper towels are safer because they avoid chlorine bleaching residues that could leach into the water your cat's grass absorbs. If you only have white paper towels, choose ones labeled chlorine-free and free of dyes or scents.
Why does my hydroponic cat grass smell sour?
A sour odor means stagnant water or crowded seeds have started to rot or grow mold. Discard the affected batch immediately, scrub the tray with hot soapy water, and use thinner seed layers with daily water changes on your next try.

Nathan Brooks
Nathan Brooks runs Farmingzoom to help loving pet owners create safe, enriching homes for their animals. He cares deeply about responsible pet care and focuses on making everyday decisions simpler for fellow owners.…