Time needed
25 min
What you need
- Wide, shallow ceramic or stoneware dish (10 to 12 inches wide, 3 to 4 inches deep)
- 2 to 3 pounds of clean river rocks or aquarium gravel
- 1 piece of landscape fabric or fiberglass window screen
- Organic coco coir or fertilizer-free potting soil
- 1/2 cup organic pet-safe oat, wheat, or barley grass seeds
- 1 sheet of plastic craft canvas or vinyl-coated wire mesh
- Non-slip silicone trivet or rubber grip shelf liner
Tools
- Heavy-duty scissors or utility snips
- Spray bottle for misting
- Measuring cup
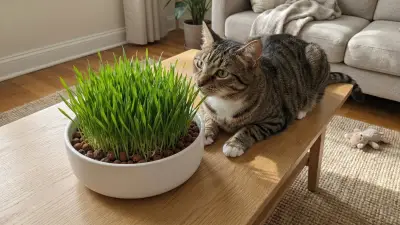
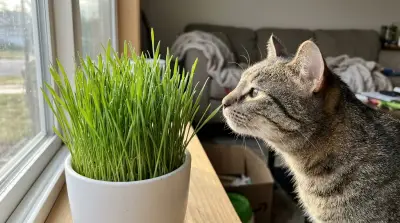
Building a tip-proof DIY cat grass planter takes about 25 minutes and solves the daily mess of overturned plastic grass cups. Standard store-bought pots are too tall and lightweight to withstand a 15-pound cat yanking upward on tough grass blades or batting the rim like a toy.
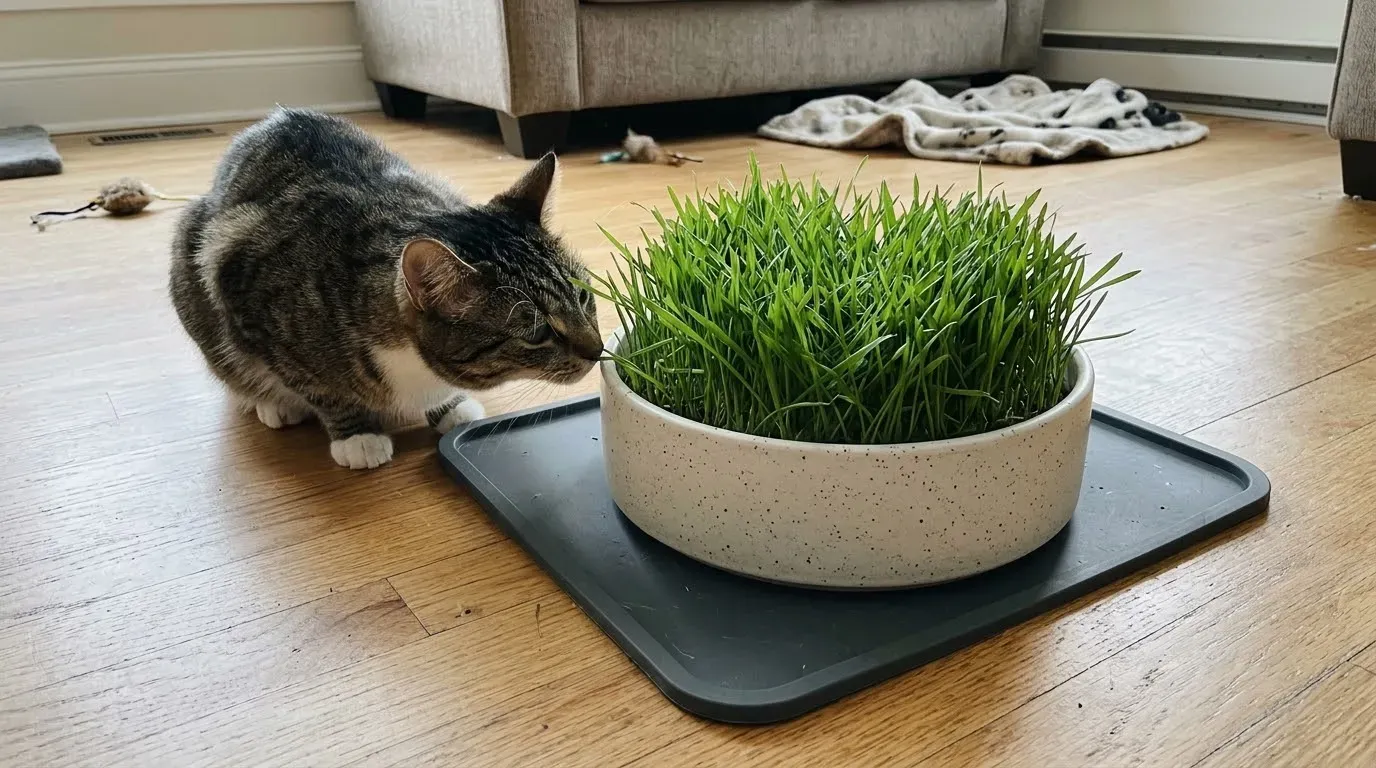
By combining a wide, shallow base with hidden bottom ballast and a high-friction rubber pad, you create a low center of gravity that resists tipping and sliding. Your cat gets safe, fresh greens to nibble on, and your floors stay free of spilled potting mix.
- 1
Select a Wide, Shallow Heavyweight Base
Choose a heavy ceramic, stoneware, or thick concrete dish that measures at least 10 to 12 inches wide and no more than 3 to 4 inches tall. A wide footprint prevents leverage tipping when a large cat leans its front paws on the rim or tugs sideways on the grass. Avoid lightweight plastic tubs or tall, narrow flowerpots, which tip easily under a heavy cat's weight.
- 2
Add a Bottom Layer of Stone Ballast
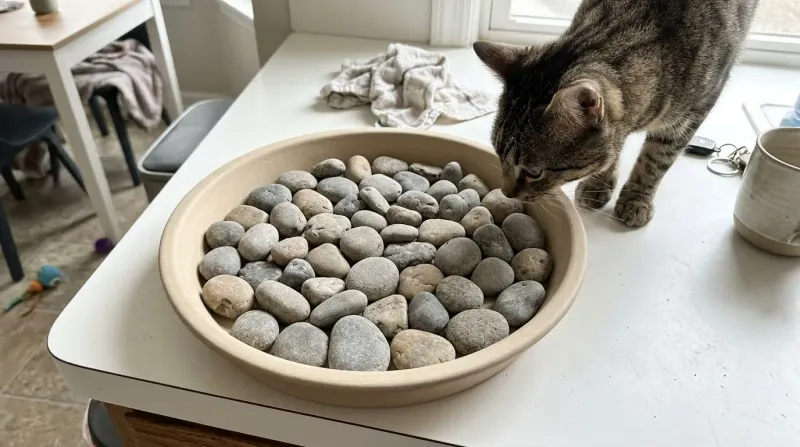
Pour a 1-inch layer of clean river rocks or aquarium gravel across the bottom of the planter. This dense ballast lowers the planter's center of gravity and adds two to three pounds of dead weight right at floor level. If your container lacks drainage holes, this stone layer also creates a reservoir that keeps plant roots out of standing water.
- 3
Lay Down a Soil Separation Barrier
Cut a circle or rectangle of landscape fabric or window screen to fit snugly over the layer of stones. Pressing this barrier flat prevents your potting medium from washing down into the gravel gaps when you water the grass. Keeping the soil separate from the ballast maintains clean drainage and makes emptying and replanting the dish much easier later.
- 4
Fill With Damp Organic Growing Medium
Spread 1.5 to 2 inches of pre-moistened organic coco coir or chemical-free potting soil over the landscape fabric, stopping about an inch below the planter rim. Press the medium down firmly with your palm so it forms a dense, even bed. Loose, fluffy soil gives way when cats tug on blades, whereas compacted soil holds roots securely.
- 5
Sow Seeds Evenly and Press Firmly
Scatter a thick, single layer of pre-soaked oat, wheat, or barley grass seeds across the soil surface, leaving minimal bare gaps between seeds. Gently press the seeds into the top quarter-inch of soil using a flat piece of cardboard or your hand. Good seed-to-soil contact encourages fast, uniform root anchoring within three to four days.
- 6
Install a Protective Root-Locking Mesh
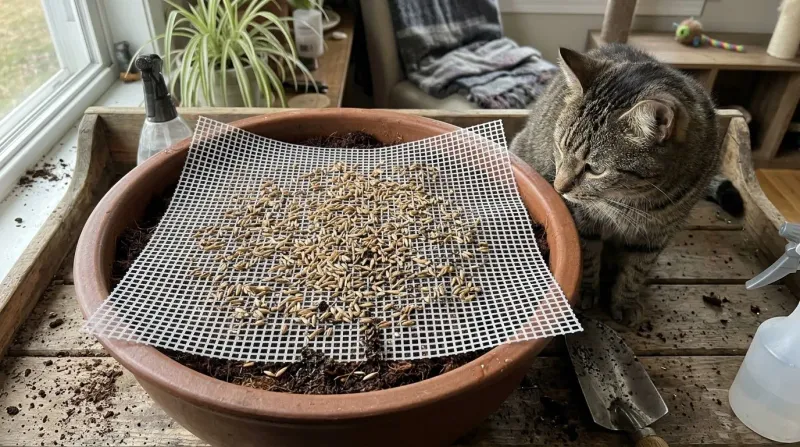
Cut a piece of smooth, pet-safe plastic craft canvas or blunt-edged, food-grade silicone or vinyl-coated mesh—with any cut edges folded under or covered—to match the inside shape of your planter, and lay it directly on top of the seeded soil. As the grass sprouts, the blades grow cleanly through the openings while the grid holds the soil and roots down. Even strong chewers cannot rip out messy clumps of dirt.
- 7
Attach a Non-Slip Silicone Base Pad
Flip the finished planter carefully or lift one side at a time to place a round silicone trivets mat or cut-to-size rubber shelf liner underneath. On hardwood, tile, or laminate floors, a heavy ceramic pot can still slide when an energetic cat bats at it. The high-friction rubber base grips the floor and stops sliding completely.
- 8
Sprout in Bright Light Before Serving
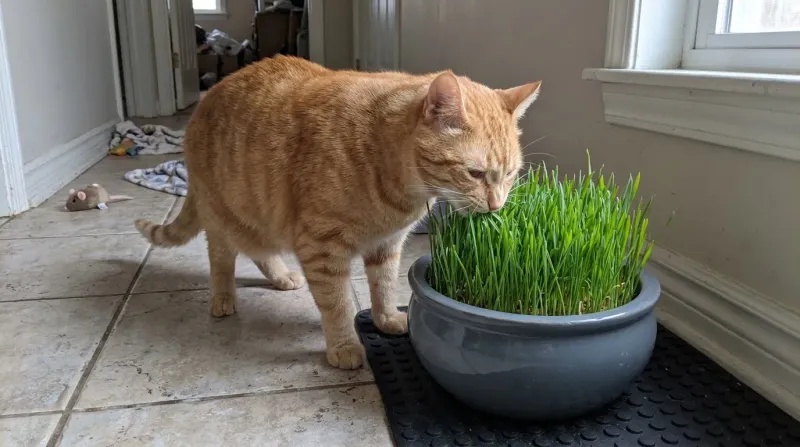
Mist the seeded mesh lightly with water and place the planter in a sunny window out of your cat's reach for five to seven days. Keep the medium damp but never waterlogged until the grass reaches 4 inches tall. While shoots reach grazing height in five to seven days, the roots only anchor around the top mesh at that stage rather than penetrating the landscape fabric to the lower gravel, so set the planter on the floor for supervised grazing once the top mesh is firmly gripped.
Tips for Choosing Safe Seeds and Materials
Always select untreated, organic oat, wheat, barley, or rye grass seeds labeled specifically for pets. Garden lawn seed mixes often contain chemical fertilizers, fungicides, or pesticides that are toxic to cats if ingested.
Skip potting soils containing perlite, vermiculite, or slow-release chemical fertilizer pellets. Instead, use plain organic coco coir or untreated seed-starting soil so any stray bits swallowed during enthusiastic grazing stay harmless. If you want more inspiration for sturdy containers, explore our guide on creative cat grass planter ideas that prevent tipping.
Common Mistakes That Cause Tipping or Mold
Even a heavy container can fail if the setup invites digging or traps stagnant water. Watch out for these frequent errors when assembling and maintaining your planter:
- Choosing a tall, narrow pot: Anything taller than 4 inches gives a large cat leverage when pulling grass from the side. Stick to wide, low-profile dishes at least 10 inches across.
- Skipping the root-anchoring mesh: Without a barrier over the soil, strong cats will pull entire clumps of grass out by the roots, dragging dirt across the room.
- Overwatering without drainage: Too much moisture leads to sour odors and mold growth. Learn how to grow cat grass indoors without mold by misting sparingly so water never pools in the bottom stones, or carefully tilting the dish to pour off excess water while holding the mesh in place.
Safe Grazing Amounts and When to Call a Vet
Most healthy adult cats enjoy nibbling a few blades of grass a couple of times a week. However, eating large amounts too quickly can trigger stomach upset or mild vomiting, especially in kittens or cats with sensitive digestion.
If you notice frequent vomiting, lethargy, or loose stools, read our breakdown on whether cat grass can cause diarrhea and remove the planter temporarily. Contact your veterinarian promptly if vomiting persists beyond 24 hours, contains blood, or if your cat stops eating regular meals.
A wide ceramic dish, two pounds of river rock ballast, and a root-locking mesh grid turn a flimsy snack cup into a permanent, mess-free grazing station. Refresh the seeds every two to three weeks as the blades yellow, and check out our guide on how to care for cat grass indoors to keep every batch lush.
Sources: ASPCA · Cornell Feline Health Center · International Cat Care
Frequently asked questions
How heavy should a cat grass planter be for a large cat?
Aim for a total finished weight of at least 4 to 6 pounds for cats weighing 12 pounds or more. Combining a thick stoneware dish with 2 to 3 pounds of river rocks at the base keeps the center of gravity low enough to resist strong upward tugging.
What can I put over cat grass seeds so my cat does not pull up the roots?
Lay a cut piece of plastic craft canvas or half-inch vinyl-coated mesh directly over the soil after planting the seeds. The grass blades grow easily through the holes, while the rigid grid blocks your cat's teeth and paws from lifting soil clumps.
Can I plant catnip and cat grass in the same tip-proof planter?
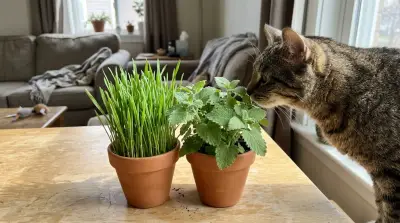
Yes, you can plant catnip in the center and surround it with fast-growing grass seeds, provided the dish is at least 12 inches wide. Keep in mind that catnip encourages rolling and pawing, so a non-slip silicone pad underneath is essential.
How often should I replace DIY cat grass?
Most indoor cat grass batches stay fresh and tender for two to three weeks before the tips yellow or thin out. Once the grass fades, compost the old roots, wash the ceramic dish and rocks with warm soapy water, and sow a fresh batch.

Nathan Brooks
Nathan Brooks runs Farmingzoom to help loving pet owners create safe, enriching homes for their animals. He cares deeply about responsible pet care and focuses on making everyday decisions simpler for fellow owners.…